
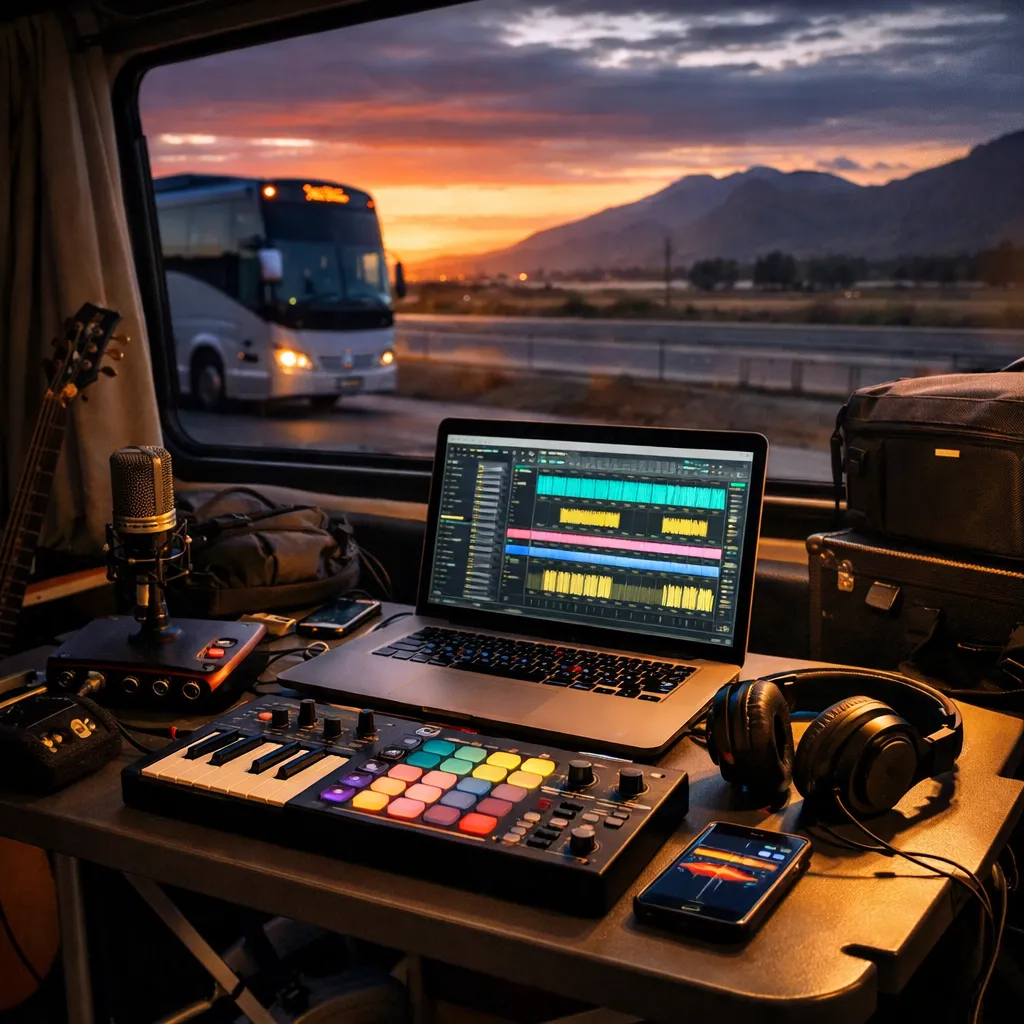
Touring is a weird mix of adrenaline and downtime. One hour you’re loading in, the next you’re sitting in a van parking lot, waiting on doors, staring at a voice memo full of half-sung hooks and thinking, “If I don’t turn this into something today, it’s going to vanish.”
The good news: you don’t need a full studio to stay creative on the road. With a lightweight laptop setup, a reliable workflow, and a loop-based writing approach, you can capture real moments, build full demos, and keep your momentum rolling between cities.
This guide is built for musicians, bands, producers, and touring artists who want practical, repeatable systems for mobile music production. You’ll learn how to run a travel-ready DAW setup, record high-quality audio with minimal gear, write quickly using loops, mix efficiently on headphones, and keep your sessions organized so post-tour finishing feels exciting—not chaotic.
Along the way, you’ll find helpful internal resources from Loopazon—like free music making software, free loops and free music samples, and tutorials on the Loopazon music production blog.
Lightweight DAW Setup
Your tour setup shouldn’t be “the studio, but smaller.” It should be a purpose-built rig that opens fast, saves reliably, and stays stable in less-than-perfect conditions. Think: fewer moving parts, fewer plugins that can break, and a workflow that still works when you’re tired and the Wi‑Fi is awful.
Pick a DAW that fits travel reality
The “best DAW” on the road is usually the one you can operate confidently at 1:30 a.m. in a hotel room without googling how to route inputs. If you’re still exploring options, Loopazon’s music software downloads area and its tutorials on the Loopazon blog are solid places to compare workflows and find beginner-friendly guidance. For example, the article Beginner’s Guide: Computer setup for running DAW breaks down practical considerations for keeping a system stable, and it’s worth skimming before you commit to a travel laptop setup.
A quick mental checklist for travel DAW choices:
- Fast loading: You can’t wait five minutes for plugins to scan when you only have a 30-minute window to work.
- Low CPU workflow options: Freezing/rendering, efficient stock plugins, and simple routing save your session.
- Simple audio recording: You should be able to arm a track, record, and save without ceremony.
- Portable project organization: Your DAW should behave nicely when projects live on an external drive.
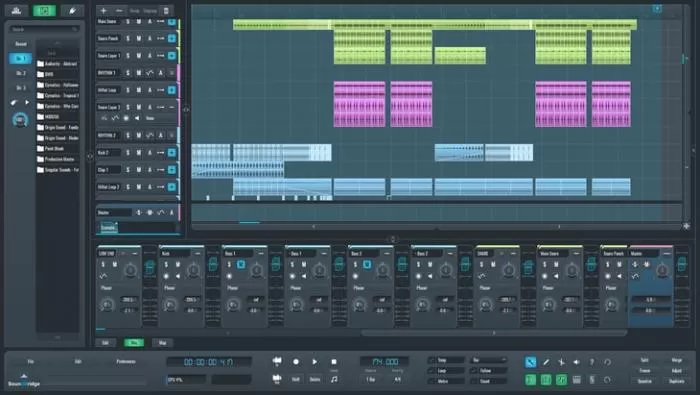
Build one “Tour Template” and stick to it
The secret weapon of tour production is not a fancy plugin—it’s a template that makes “starting” automatic. Your Tour Template should open with the same tracks, the same routing, and the same go-to tools every time. That way your brain can focus on music, not setup.
A practical Tour Template layout:
- Scratch Vocal: dry input + light compressor + light de-esser (or just gentle EQ)
- Lead Vocal (Optional): for “keeper” takes when you have time
- Guitar/Instrument DI: clean DI with optional amp sim later
- Loop Tracks: Drum loop, bass loop, chord loop, melody loop
- MIDI Sketch: one simple synth or piano for quick ideas
- FX Capture: a track for ambient recordings and weird sounds
- Mix Buses: Drum bus, Music bus, Vocal bus (keep it minimal)
If your main DAW is heavy, consider a “sketch DAW” for the road and a “finish DAW” for home. That might sound complicated, but it can be as simple as exporting stems and reopening at home. If you’d like to deepen your sample workflow in a mainstream DAW, Loopazon has targeted guides such as Making Music With Sound Samples And Logic Pro in its software section.
Essential plugin philosophy: fewer, faster, familiar
On tour, your plugin choices should prioritize reliability. You want tools that open instantly, don’t spike CPU, and won’t derail you when you change laptops. The best travel pack is often:
- One reverb/delay tool you trust for quick vibe
- One “glue” compressor for gentle control
- One utility that helps you organize notes and decisions (because tour brain is real)
If you’re building a minimal plugin kit, Loopazon’s software downloads section is full of useful options. Touring-friendly examples include Valhalla Supermassive for spacious delays/reverbs, Buss Comp Mastering Compressor for gentle bus “glue,” and workflow helpers like Melda Production MNotepad for keeping lyrics, session notes, and quick decisions inside your DAW.
If you produce in Ableton or you’re learning it, the video guide Ableton Live 11 Tutorial Guide is a good “tour downtime” watch. And if you’re in the Apple ecosystem—especially if you sketch on iPhone/iPad—Loopazon’s guide to making a beat with Apple Loops fits perfectly with travel production.
Mobile Recording Techniques
Mobile recording doesn’t have to sound “mobile.” The difference between a throwaway take and a usable take is usually not a $3,000 microphone. It’s your environment, your gain staging, and how consistent you are about capturing clean audio.
Minimal gear that actually earns its spot in your bag
Your goal is to build a kit that’s small enough you’ll always carry it, but capable enough you’ll actually use it. A practical minimal kit often looks like:
- Closed-back headphones (for recording without bleed and mixing quietly)
- Compact audio interface (one or two inputs is plenty)
- One dependable mic (a dynamic mic is a tour workhorse; a small condenser works if you can control the room)
- Small stand or clamp + pop filter (tiny accessories make a big quality difference)
- External SSD (fast, rugged, and easy to back up)
- Short cables + one spare (tour rule: if it can fail, assume it will)
Hotel-room vocals: make the room work for you
Hotel rooms aren’t acoustically kind. They’re full of reflective surfaces and “mystery noise” (air conditioners, mini fridges, hallway chatter). But you can still capture strong vocals if you treat the room like a puzzle.
Try this quick approach:
- Pick the quietest corner of the room, away from AC vents and windows.
- Use soft surfaces as absorption: hang coats, place pillows behind the mic, or record near curtains.
- Record closer than you would in a studio (without plosives). A closer mic equals less room noise.
- Do 2–3 full takes instead of 20 punch-ins. Comp later when your ears are fresh.
If you’re only capturing ideas (not “final vocals”), give yourself permission to record scratch takes. A scratch take is still valuable if the pitch + phrasing are clear and the emotion is real. You can always re-record after tour. What you can’t re-create is the exact vibe you felt in that moment.
Instrument capture on the road: DI now, re-amp later
Guitars, bass, and keys are touring-friendly if you keep the signal chain simple. When you don’t have a perfect environment, it’s often smarter to record clean DI and shape it later at home with amp sims, processing, and proper monitoring.
Practical touring capture tips:
- Record clean + conservative: don’t chase loudness while tracking; leave headroom.
- Print a “vibe track” too: duplicate the DI and throw a quick amp sim for inspiration (you can replace it later).
- Label takes immediately: tired you won’t remember which riff was “the one.”
Capture ambient sounds (these become your signature)
One of the most underused touring advantages is that you’re constantly surrounded by new sounds: train stations, venue hallways, backstage chatter, crowd noise, rain on a windshield, a subway brake squeal. These textures make incredible transitions, intros, risers, and percussive layers.
Two easy rules:
- Record short and intentional: 10–30 seconds is usually enough.
- Name the file like a producer: “2026-02-01_VenueHallway_Impacts_88bpmIdea.wav” beats “audio_0134.wav.”
When you get back to your laptop, chop these recordings into one-shots, then layer them under drums or turn them into FX. If you want inspiration for arrangement and sound layering, bookmark the Loopazon blog and keep a few guides open for downtime reading.
Loop-Based Writing With Free Loops
Touring is not always the best time to build a track from zero. It is a great time to build the skeleton: beat, harmonic mood, hook idea, and arrangement structure. That’s why loop-based writing is so powerful on the road. It lets you create quickly, stay inspired, and keep your production moving even when your schedule is chaotic.
Loopazon is built for this workflow. You can grab free loops and free music samples, browse loop categories, explore loop genres, and keep your sound fresh without carrying a hard drive full of random packs.
Start with the “tour hook” (not the perfect intro)
On the road, your job is to capture the hook—the thing you’ll still hum tomorrow. Start with one of these:
- A drum loop that immediately suggests a tempo and energy
- A chord loop that locks a mood
- A melody loop that feels like a chorus waiting to happen
- A vocal texture that becomes the sonic identity of the track
If you’re producing at night in a hotel room, try searching by mood and intention first (not by genre). Then refine by genre once the idea starts forming. Loopazon makes this easier by organizing content through categories (drums, vocals, FX, synths, guitar, etc.) and genres (like Lo‑Fi, Pop, EDM, Indie, and more).
Want a quick starting point? The community roundup Top 10 Best Free Sample Loops on Loopazon is a fast way to discover loops that other creators are actually using.
Build speed with a three-layer loop stack
Here’s a travel-friendly structure that works across genres:
- Foundation: drum loop + a simple bass or low texture
- Story: chord loop or pad that sets emotion
- Identity: a lead phrase, hook, or vocal texture
Once you’ve stacked those three, you can sketch a rough arrangement in 10 minutes: Intro → Verse → Hook → Verse → Hook → Bridge → Hook. You don’t need perfection. You need a version that exists.
If drums are your weak point, Loopazon’s FL Studio-focused guide Mastering Drum Loops in FL Studio provides practical ideas for groove, layering, and variation—perfect reading for long drives or flights.
Make the loop sound like you
The difference between a “loop track” and a real song is what you do next. Three transformations that work even on a laptop:
- Chop and rearrange: slice the loop, change the order, make call-and-response.
- Resample: bounce the loop to audio, pitch it, reverse fragments, print effects.
- Layer performance: record a quick guitar line, vocal phrase, or percussion hit over the loop.
If you want a step-by-step loop workflow, the article How To Make Music Online Using Free Loops and FL Studio is a simple, approachable guide you can revisit whenever you need a restart.
Cloud and Offline Workflow
Touring creativity is fragile. The fastest way to kill it is losing a session, corrupting a project file, or forgetting which version is the “latest.” Your workflow should assume three realities:
- Internet access is inconsistent.
- Devices fail at the worst possible moment.
- You will forget details unless you document them.
Use a “Tour Folder” structure that never changes
Consistency beats cleverness. Pick one master folder and keep it the same on every device:
- 01_Sessions (DAW projects)
- 02_Audio (recordings, resamples, bounces)
- 03_Loops_Samples (any downloaded loops by project)
- 04_Stems_Exports (bounce stems here for transfer)
- 05_Notes (lyrics, set ideas, mix notes)
When you download sounds from Loopazon free loops, consider saving a copy inside each project’s “03_Loops_Samples” folder rather than relying on a global downloads folder. That way the project remains portable and you won’t open a session at home only to find half the samples missing.
Cloud for convenience, offline for survival
Cloud storage is great for syncing across devices, but you should also plan for offline work:
- Keep a local copy of each active project on your laptop or SSD.
- Sync when you can (hotel Wi‑Fi, greenroom downtime, morning coffee runs).
- Export stems weekly so you can recover a song even if your DAW session breaks.
A simple tour-safe backup routine:
- Every session: Save-as a new version (v01, v02, v03).
- Every day: Copy the Tour Folder to an external SSD.
- Every 2–3 days: Upload the Tour Folder or at least “04_Stems_Exports” to cloud storage.
If you want to keep project decisions inside the session itself, tools like MNotepad can help you store lyrics, reminders, and “next steps” so you don’t rely on memory when you’re half-asleep after load-out.
Quick Mix Strategy for Mobile Setups
A tour mix is not a final mix. It’s a “decision-ready” mix: clear enough to judge the song, exciting enough to keep you inspired, and organized enough that final mixing later isn’t a nightmare.
The fastest way to get there is to focus on what matters most: levels, clarity, and a clean relationship between drums, bass, and vocals.
Mixing on headphones without lying to yourself
Headphones are honest about details and dishonest about low-end translation. You can still mix effectively on tour if you follow a few rules:
- Keep headroom: don’t slam your master while you’re writing. Leave space so you can fix problems later.
- Mix quieter: loud headphone mixing makes everything sound “better” than it is.
- Check on small speakers: earbuds, phone speaker, or a hotel TV can expose balance problems quickly.
The “10-minute clarity pass”
If you only have a short window, do this:
- Level first: set faders so the vocal or hook is clearly the star.
- EQ cleanup: remove obvious mud and harshness (small moves, not surgery).
- Compression lightly: even out peaks so your idea doesn’t disappear.
- One vibe effect: one reverb or delay to glue the mood together.
For tour-friendly space and atmosphere, tools like Valhalla Supermassive can be a quick way to create depth without building a complex effects chain. And if you want a simple “mix glue” option, a gentle bus compressor like Buss Comp Mastering Compressor can help your rough mixes feel cohesive without much effort.
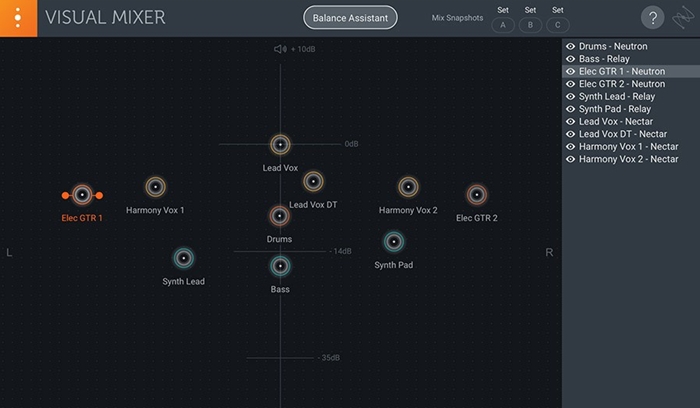
Balancing loops and live recordings
When you combine Loopazon loops with tour recordings (vocals, guitar DI, ambient textures), balance can get tricky. A few simple habits keep it under control:
- Pick one “main element” per frequency band. If your loop already has heavy low-end, your live bass might need space—or vice versa.
- Don’t over-layer the chorus. Save impact for the hook by removing something in the verse.
- Print your favorite loop edits. Commit to resampled versions so your CPU stays stable on the road.
If you want more structured mixing fundamentals (EQ, compression, mastering steps, and exporting), Loopazon’s article Creating Festive Beats includes a clear section on balancing and finalizing that can be applied well beyond holiday music.
Band Travel and Crew Logistics
Most touring creativity problems aren’t creative problems. They’re logistics problems. The band is scattered across three vehicles. Someone’s in charge of merch. Someone forgot the hard drive. The day’s schedule shifts, and suddenly the one hour you planned for writing becomes a sprint of setup and stress.
If you want to produce consistently while touring, you have to treat travel like part of the studio. That means building predictable routines, protecting time windows, and keeping people, gear, and decision-making organized.
Choose the right travel mode for your tour style
Not every tour needs a bus. Not every tour can survive a cramped van. Your choice affects creativity more than you think.
- Van travel: affordable and flexible, but you’ll need tighter schedule discipline and more deliberate rest planning.
- Sprinter-style travel: a sweet spot for many runs—enough room for comfort and gear, still flexible for city navigation.
- Bus travel: more stable for long runs and bigger crews; also makes it easier to maintain a consistent setup and sleep schedule.
No matter what you, or your production crew choose, prioritize two things: reliable arrival timing and clean communication. When your load-in time is fixed, being late doesn’t just cost you stress—it costs you soundcheck quality, content capture time, and sometimes the show.
Call times are production tools
If your tour has a crew (even a small one), call times should be treated like a production schedule: clear, written, and communicated early. The more people involved, the more you need a “single source of truth.”
A simple daily structure that works for many bands:
- Morning: quick admin + backup the previous night’s sessions
- Early afternoon: travel + arrival buffer (plan for traffic, parking, and loading)
- Load-in / soundcheck: focus on the show, then capture any stage audio or cues
- Post-show: 15-minute “idea dump” session (bounce a rough, save notes, voice memo hooks)
That last part is the magic: after a show, you’re full of energy and emotion. Even if you’re exhausted, you can usually do one useful thing: export the day’s best idea, label your files, and capture what you learned.
Keep equipment and sessions coordinated
If multiple people touch the project—producer, bandmate, tour manager, videographer—define who owns what:
- One person owns the master project folder.
- One person owns backups. (It can be the same person, but it must be a real assignment.)
- Everyone follows the naming rules. No exceptions.
If you’re traveling with a production team for content, live sessions, or multi-venue shoots, efficient logistics matter even more. Reliable production crew transportation can reduce stress around call times, keep people and gear together, and protect the creative windows that usually vanish first when schedules get messy.
Tour productivity isn’t about doing more—it’s about doing the right minimum
Here’s a mindset shift that helps touring artists: you don’t need to “finish” on tour. You need to capture and prepare. If you can return home with:
- organized sessions,
- labeled recordings,
- rough arrangements, and
- clear notes about what each song needs next,
…then tour production becomes an unfair advantage. You’re not starting from zero when you get home—you’re refining something that already has life.
Post-Tour Finishing Plan
The post-tour glow is real—until you open your laptop and face 47 sessions named “new idea final final 2.” The finishing phase is where touring productivity either becomes a release pipeline or becomes a dusty folder. The difference is a simple, structured plan.
Do a “triage week” before you try to perfect anything
Give yourself 5–7 days to sort what you captured. Your goal is to turn raw tour material into a clear set of next steps.
- Day 1–2: consolidate folders, remove duplicates, confirm nothing is missing
- Day 3–4: bounce stems for each project and label them clearly
- Day 5: pick the strongest 3–5 ideas (don’t try to save everything)
- Day 6–7: write a finishing checklist for each selected track
Re-record what needs the studio (and keep what has magic)
Tour takes can be surprisingly emotional and usable, especially for vocals. Don’t automatically delete them. Instead, decide what you need:
- Keep: takes with unique emotion, timing, or vibe you can’t recreate.
- Replace: takes limited by noise, distortion, or poor acoustics that distract from the song.
- Blend: layer tour vocals under clean studio vocals for texture and authenticity.
Finalize mixes with fresh ears and proper monitoring
Your tour mix is a great blueprint. Use it like a map, then refine with proper monitors, a comfortable room, and rested ears. If you need a refresher on arrangement-driven mixing and exporting, revisit Loopazon’s guide to building complete tracks with loops or explore more technique-focused reads on the Loopazon blog.
Prepare for release (and turn your tour into content)
Once you’ve locked the final arrangements and mixes, build a simple release checklist:
- Exports: final WAV, instrumental, acapella, stems (if needed)
- Metadata + file naming: treat it like a professional deliverable
- Content: micro-clips, behind-the-scenes tour audio, rehearsal footage
- Community: consider sharing a piece of your process back to the community
If loops were part of your tour workflow, you can keep feeding the cycle by exploring new free loops, digging through popular loop categories, and jumping genres when you want a fresh spark via Loopazon’s genres page. And if your setup needs new tools, browse free music software and plugins to keep your rig light, updated, and inspiring.