The Most Recommended Microphones for Recording Drums at Home
Form a band online, promote your music, buy custom beats, sound parts, and share your Beat or Track as a Royalty Free loop with us. Collaborate to make beats online with the best loop makers from around the world on the Forum for musicians and beat makers. Keep up to date with Music News and learn from FL Studio Video Tutorials and the articles on the Blog. Free DAW Music Software downloads, VST and Instrument Packs for FL Studio, Pro Tools, Logic, Ableton, and how to use the most popular free DAW Software, Fruity Loop Plugins, MIDIs and more.
With advancements in drum machines, DAWs, rhythm programming and sampling, the use of real acoustic drums has become rare in recordings. Genres too have evolved over the last three decades with rhythm loops being very conspicuously digitized, especially in genres like dubstep and psychedelic trance. Even when there is a requirement of an acoustic drum sound in a track, the music producer would mostly prefer one of these three methods instead of getting a drummer for a live session:
I) He would choose from the hundreds of acoustic drum loops from his extensive library. This is done when the track doesn’t require a significant number of rhythm variations periodically.
II) The second option is to program the rhythms from scratch on a drum machine or a MIDI keyboard with classic acoustic drum samples. This is usually done when the track requires very dynamic rhythms throughout.
III) The third method is obviously a combination of the first two , i.e., selecting an existing drum loop and then performing additional rhythm programming on top of it.
Real acoustic drums have been mostly confined to live performances by bands. Even then, these live players often get electronic backing.
Now, what if you are a drummer who is passionate enough to frequently record real drums from home? You need to get the space and acoustics right. The most important thing is to get the perfect microphones to record each element, be it the kicks, the toms, the snares, the hi-hats, the cymbals or combination of all. Your job is more than half done, if you get the perfect set of microphones and place them appropriately for recording.
Also read: Guide to Condenser Microphones for Home Recording
Let us check Loopazon’s top microphone recommendations for recording each component in the drum kit:
1) For overheads
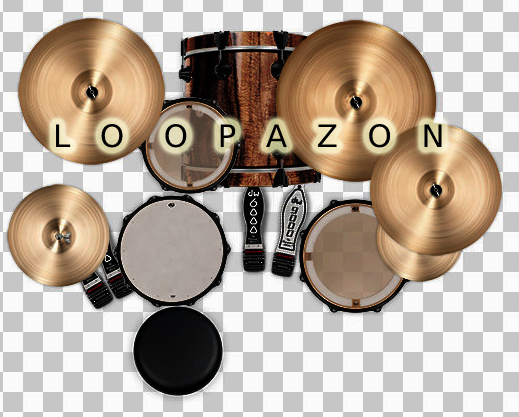
This is the most crucial recording point for drums. The perfect pair of overhead microphones alone when placed appropriately would give you a basic and almost satisfactory output. This setup alone is economical and suits you for smaller projects. However in a real professional recording, every component in the drum kit needs to be alloted microphones. Otherwise your engineer would have to work with a clutter while mixing.
Small diaphragm microphones are the most recommended for recording drum overheads. With their superior off-axis coloration, lesser sensitivity to background noise and a virtually flawless cardioid pattern, these microphones are the first things you need to acquire if you are a drummer who intends to record regularly.
We did discuss Loopazon’s favorite small diaphragm microphones in the article about condenser microphones. However, let us discuss a couple of them here again; the ones most suitable for recording drum overheads:
1.1 Rode NT5 Small Diaphragm Condenser Microphones (Matched pair)
Whenever you get small diaphragm microphones, it is best recommended that you go for a matched pair. You may purchase them as individual microphones, but matched pairs are designed to compliment each other when placed appropriately in a recording. For drum overheads, matched pairs are a must. The Rode NT5 matched pair is something you may be already very familiar with.
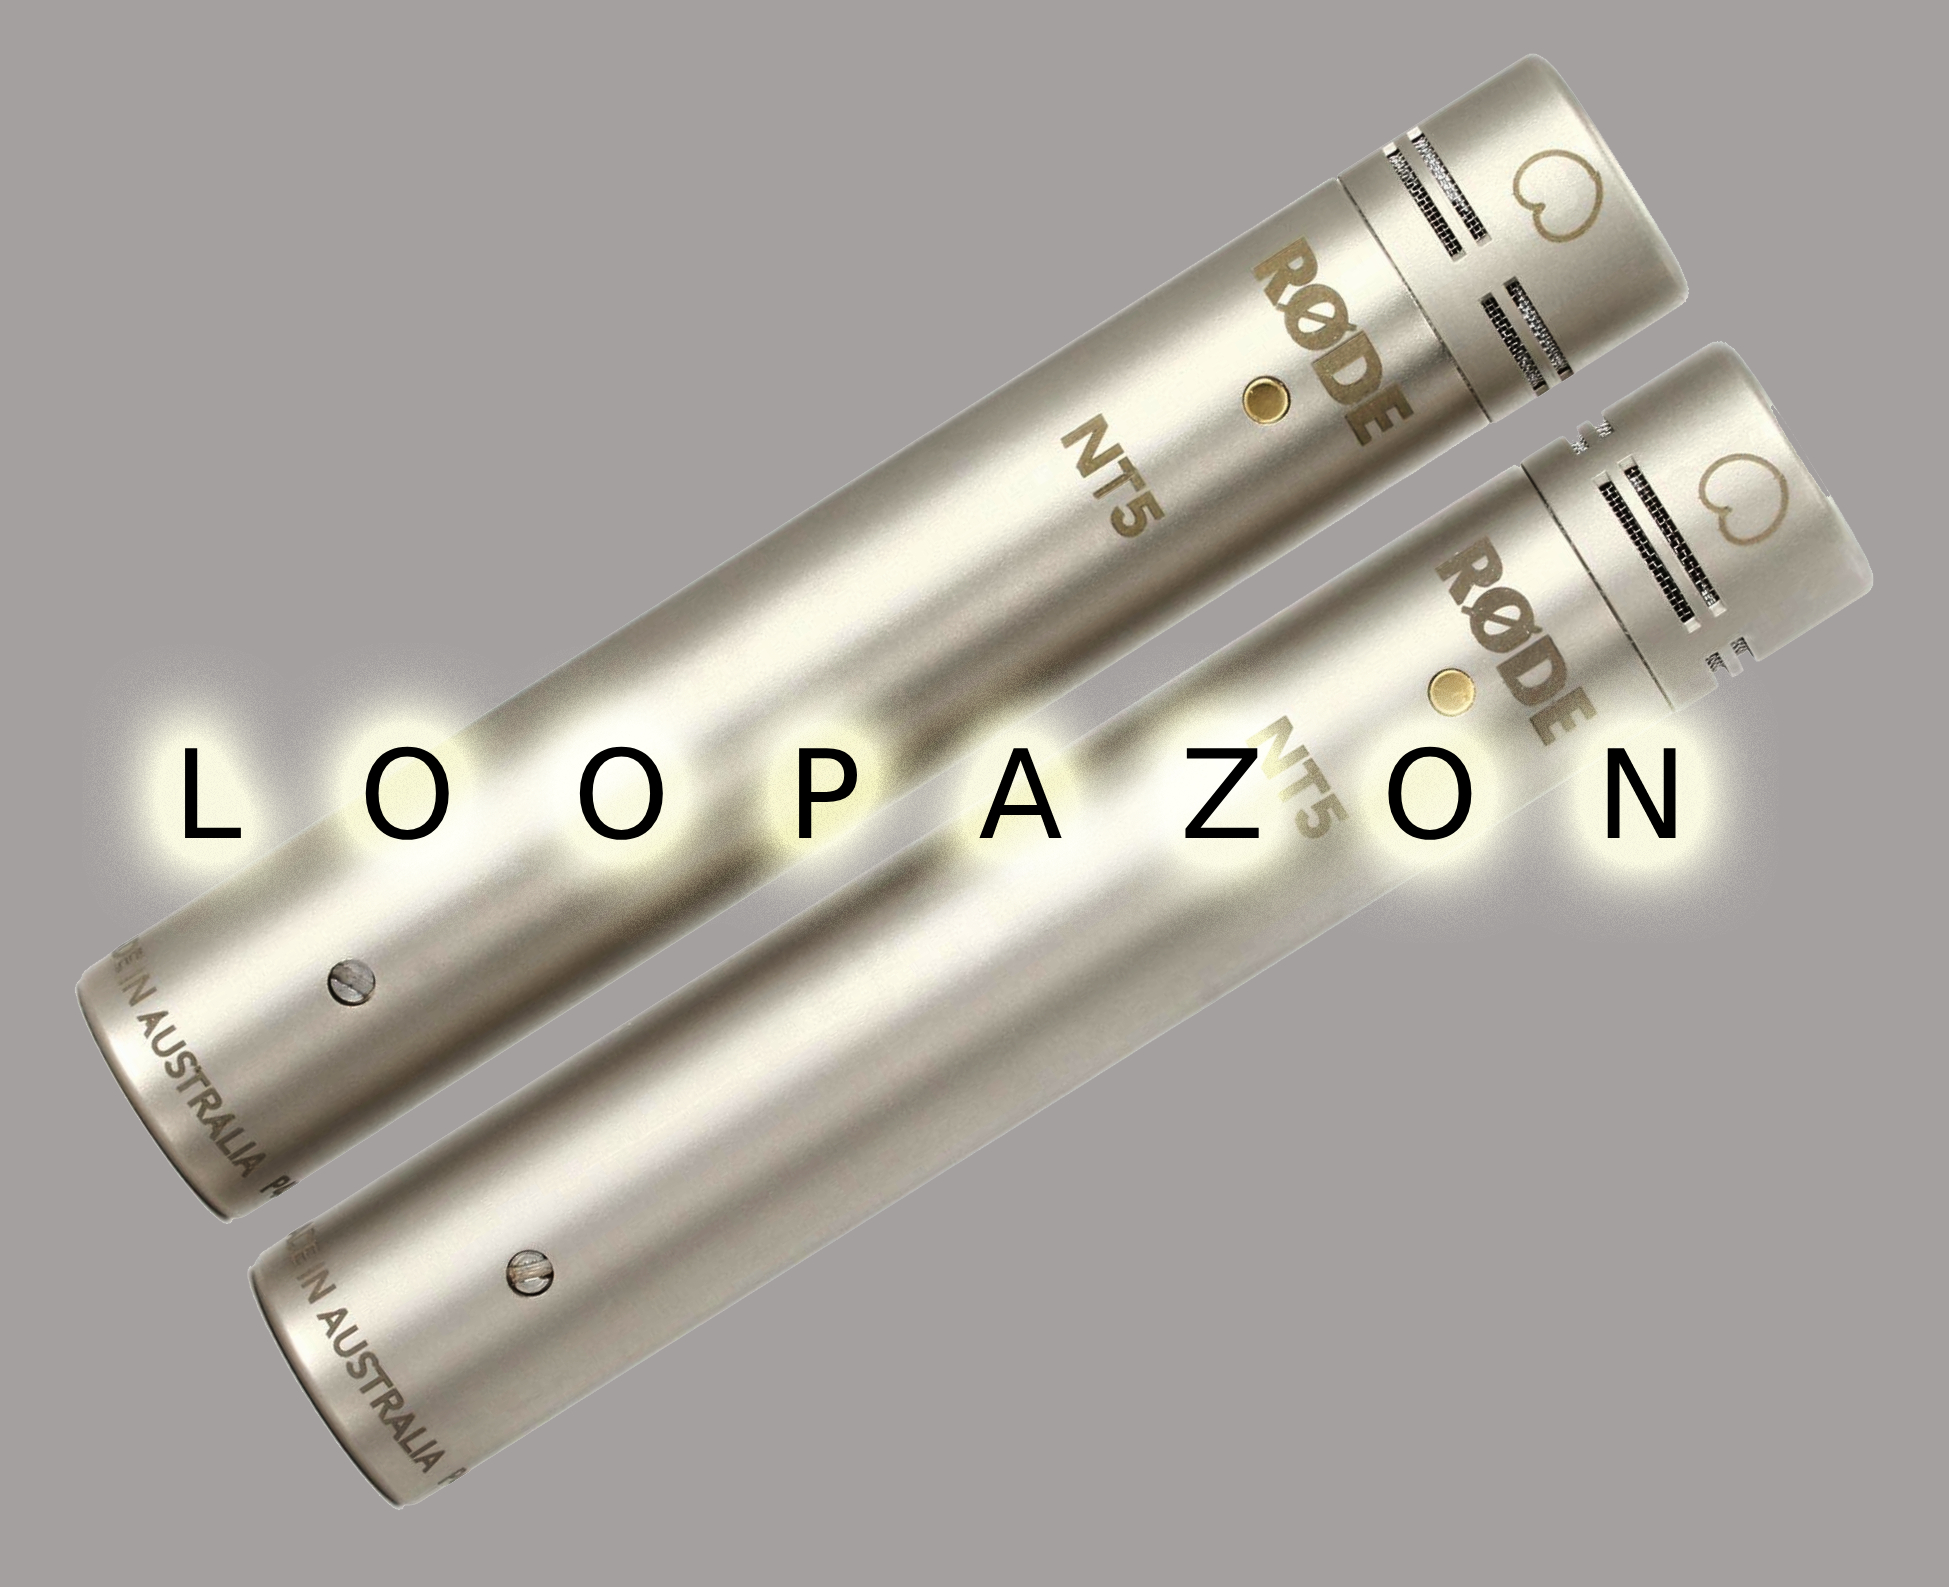
You would have found this everywhere, from a professional studio to your fellow musician’s compact home studio. This really doesn’t require an introduction because we have discussed about it in the above mentioned article. With a gold sputtered condenser, a smooth satin nickel exterior finish, two high pass filters and a 10-year warranty; all coming at $229, the Rode NT5 is an unshunnable economical option for your drum overheads!
1.2 AKG Perception 170 Small Diaphragm Condenser Microphones
The AKG P170 is another Loopazon favorite that we had discussed in our previous article about condenser microphones. These microphones (pair) with their cardioid polar pattern, are specifically designed to be specialists in picking drum overheads.
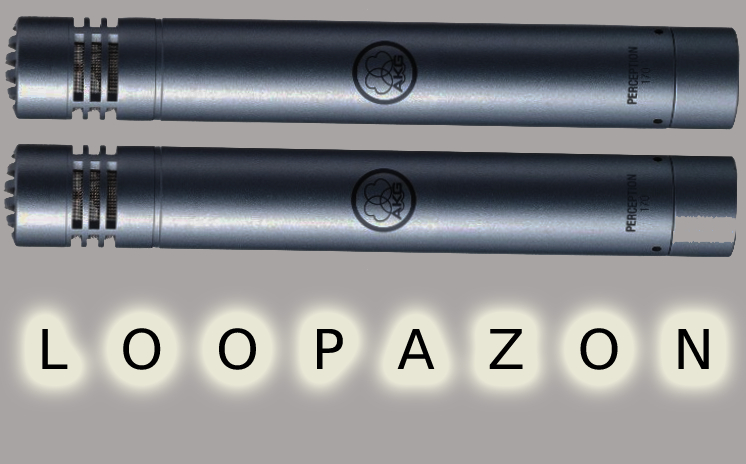
They come from the makers of the legendary C451B condenser microphone, an inescapable embellishment in professional recording studios. Priced at less than $200 per pair, the P170s that come at 1/5th the price of the C451Bs are undeniably a great bargain!
2) For Kicks
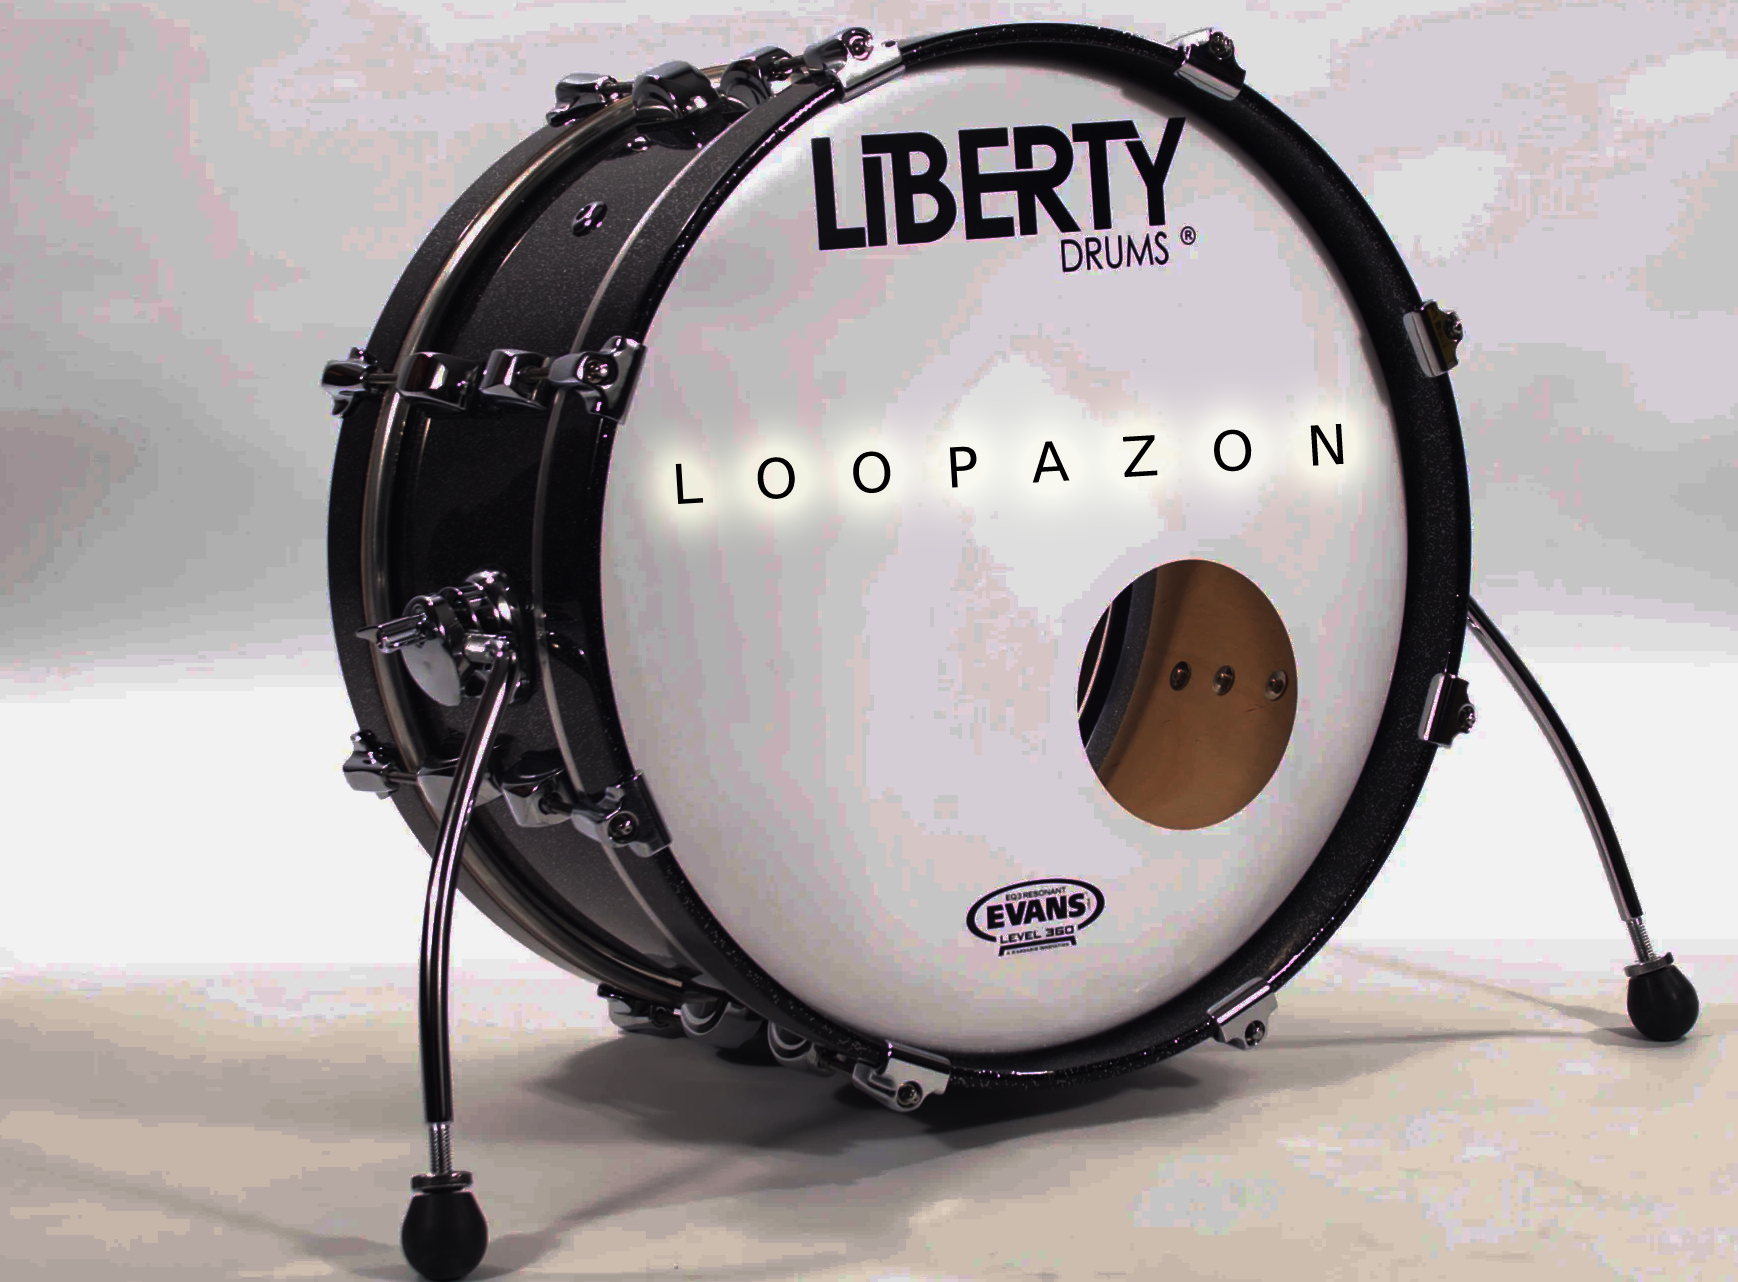
Another crucial component, the kick drum need to be adequately miked because this is the real bass instrument of the entire drum kit. It is played by the foot using a pedal. Drumming virtuosos often prefer dampening the sound produced by the kick drum by placing a pillow or two inside. They also prefer altering the size of the hole to properly allow the diaphragm of the microphone inside. Usually a combination of two or three microphones is used to get optimum input from the kick drums. On a standard two-microphone setup, one of the microphones as already said, is used to record from the inside of the kick drum.
The angle and axis of placement depends on the drummer’s stylistic preference. The other microphone could be a normal dynamic ribbon microphone that records from outside, (opposite side of the beater). You don’t need a condenser microphone here as it is a comparatively louder acoustic input. It should be noted that this ribbon microphone should not be placed very close to the kicks as it could distort the input (especially if you are going for a lower end, cheaper microphone to start with). Some drummers simply avoid the additional rhythm microphone outside. It is just a matter of stylistic preference.
Loopazon’s top microphone recommendations for the kick drum are:
2.1 Shure BETA 52 A Dynamic Microphones
This is easily the most popular dynamic microphone for kick drums, equally preferred by professional life drummers as well as those recording from their small compact home studios. The good news it that it doesn’t cost a fortune for you to acquire this.
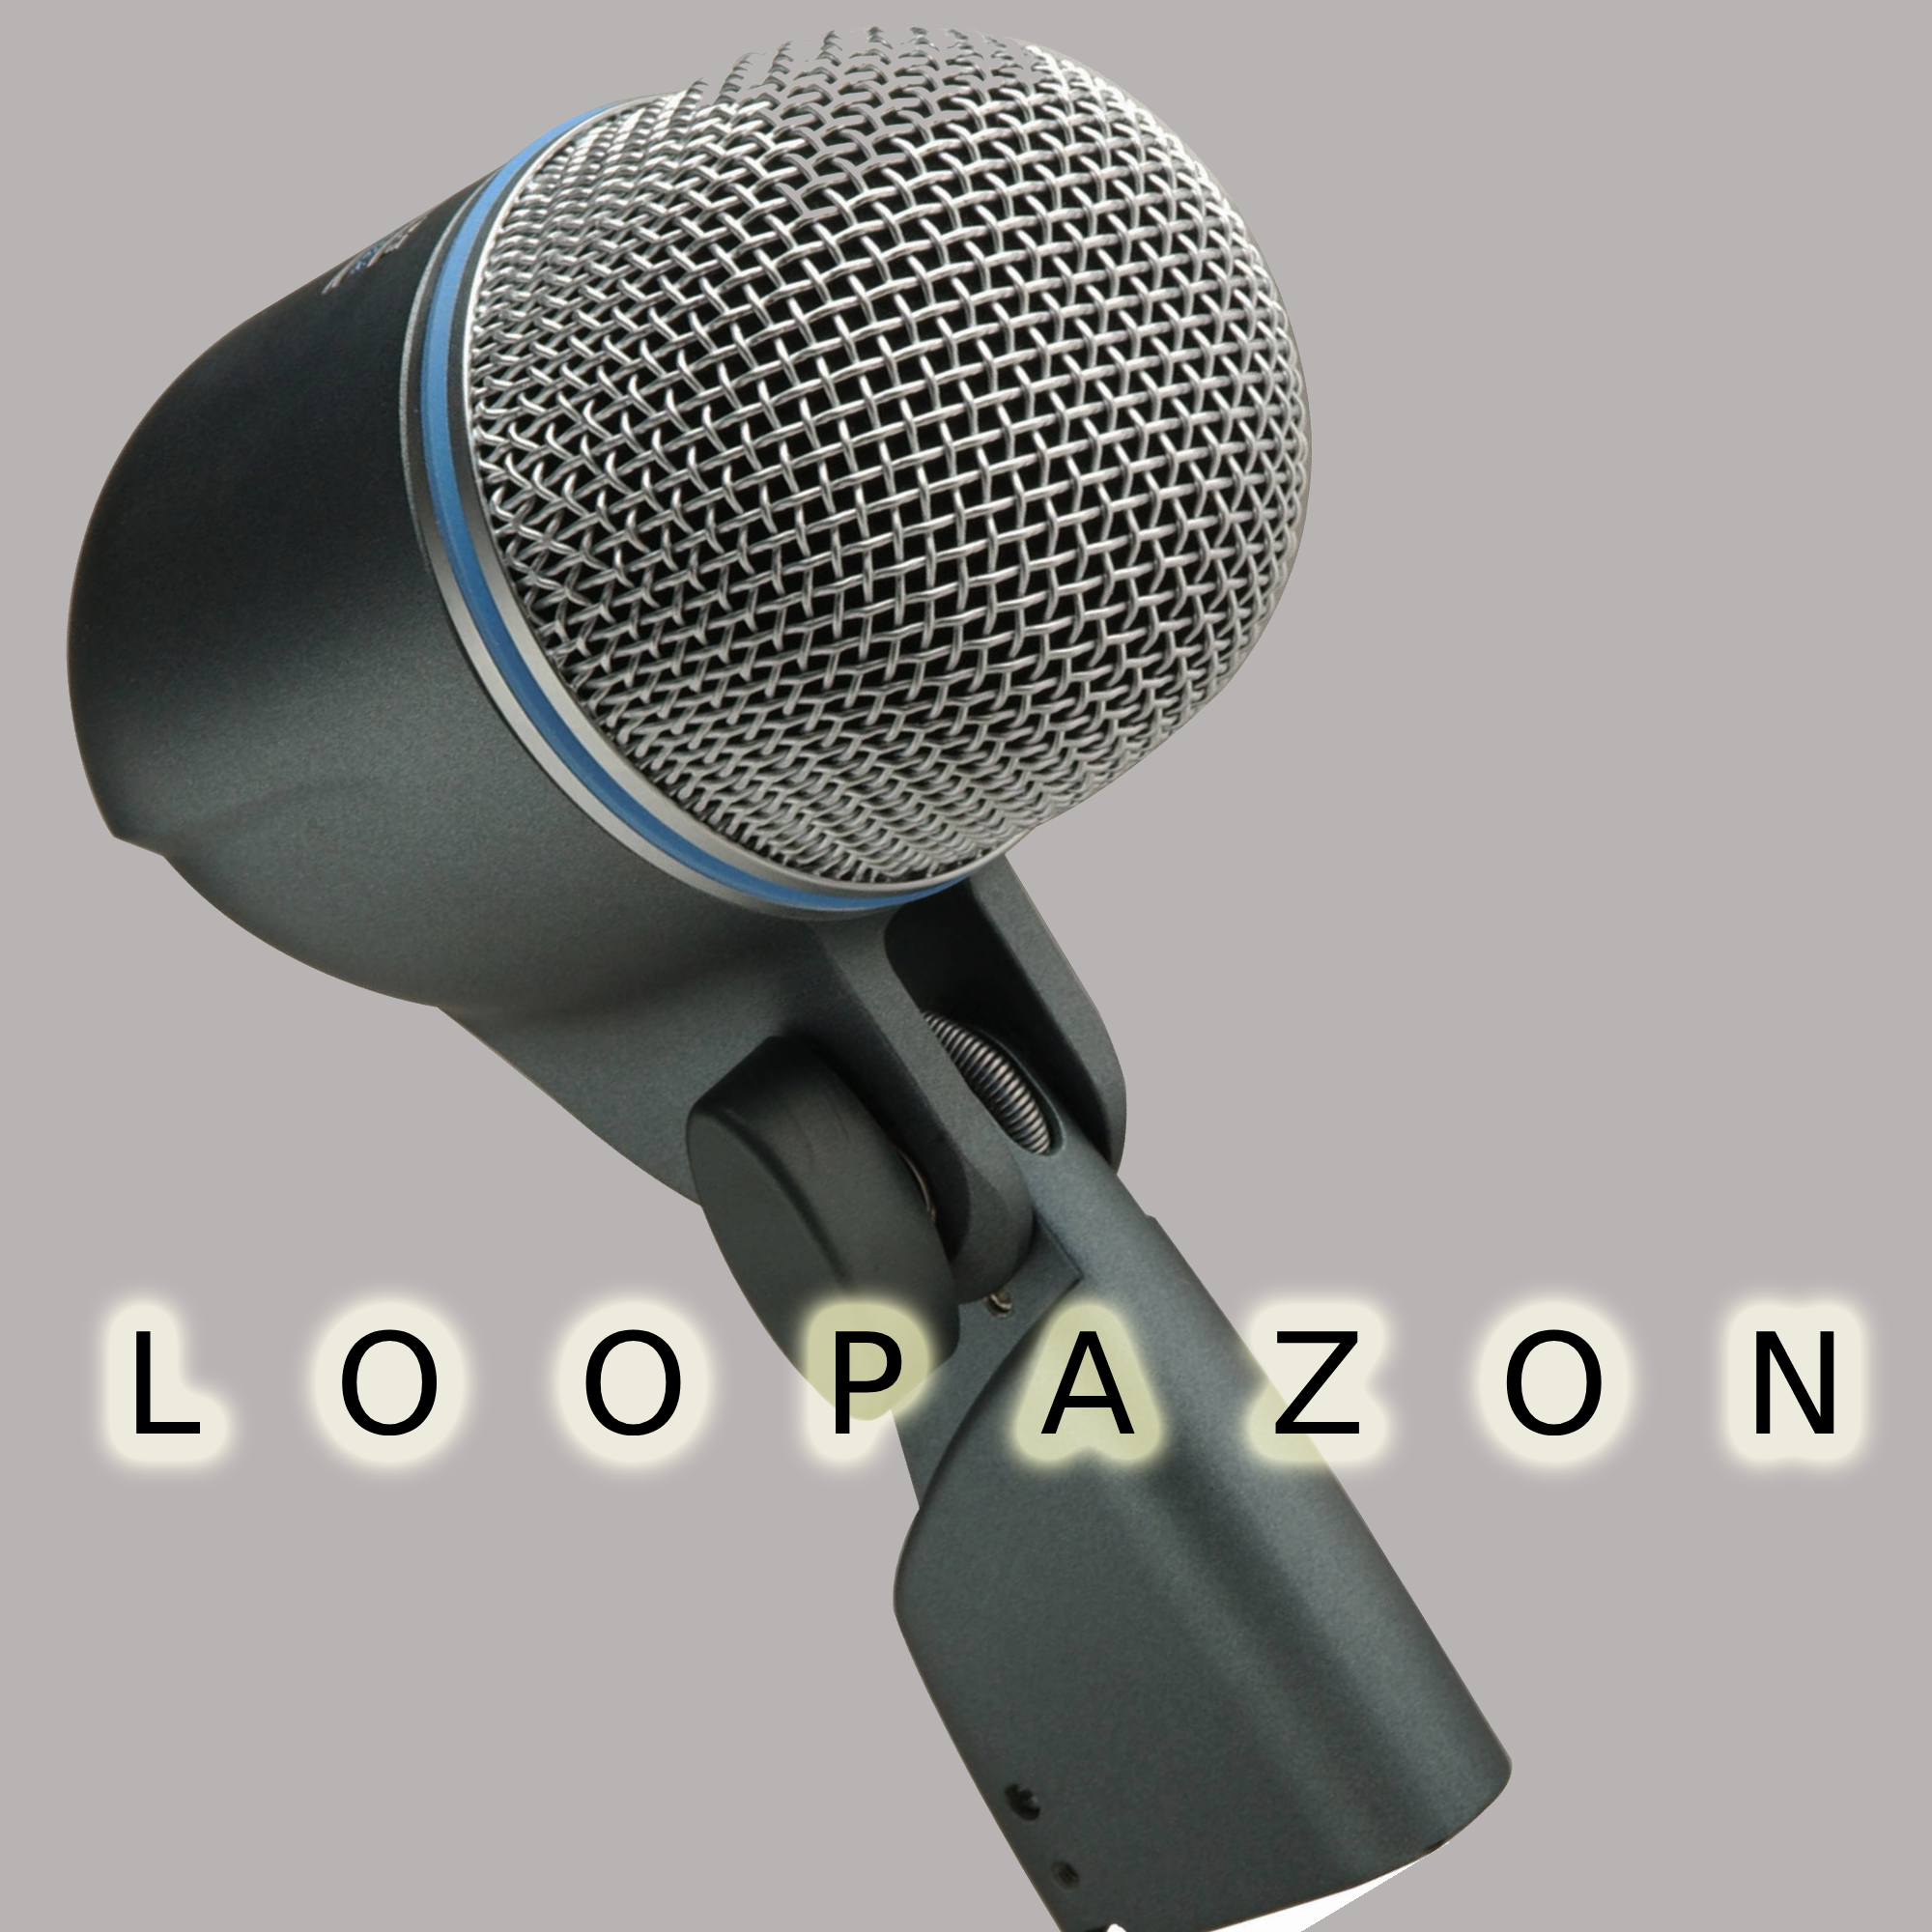
The background noise rejection by in the BETA 52A is second to none and when appropriately placed, they give you studio quality even on high sound pressure levels (SPLs) in a live performance. The microphone is equipped with a neodymium magnet for high signal-to-noise ratio. Some professional drummers even opine that there is no microphone made yet that is more perfect than the BETA 52 A, for not just the kick drums, but any bass instrument. The $189 price tag is quite low considering its legendary following.
2.2 Audix D6 Dynamic Instrument Microphone
The D6 from Audix is another fabulous dynamic microphone that delivers studio quality, brilliantly handling high sound pressure levels. It is one of the best companions for your kick drum during live performances due to its immaculate extended frequency reproduction.
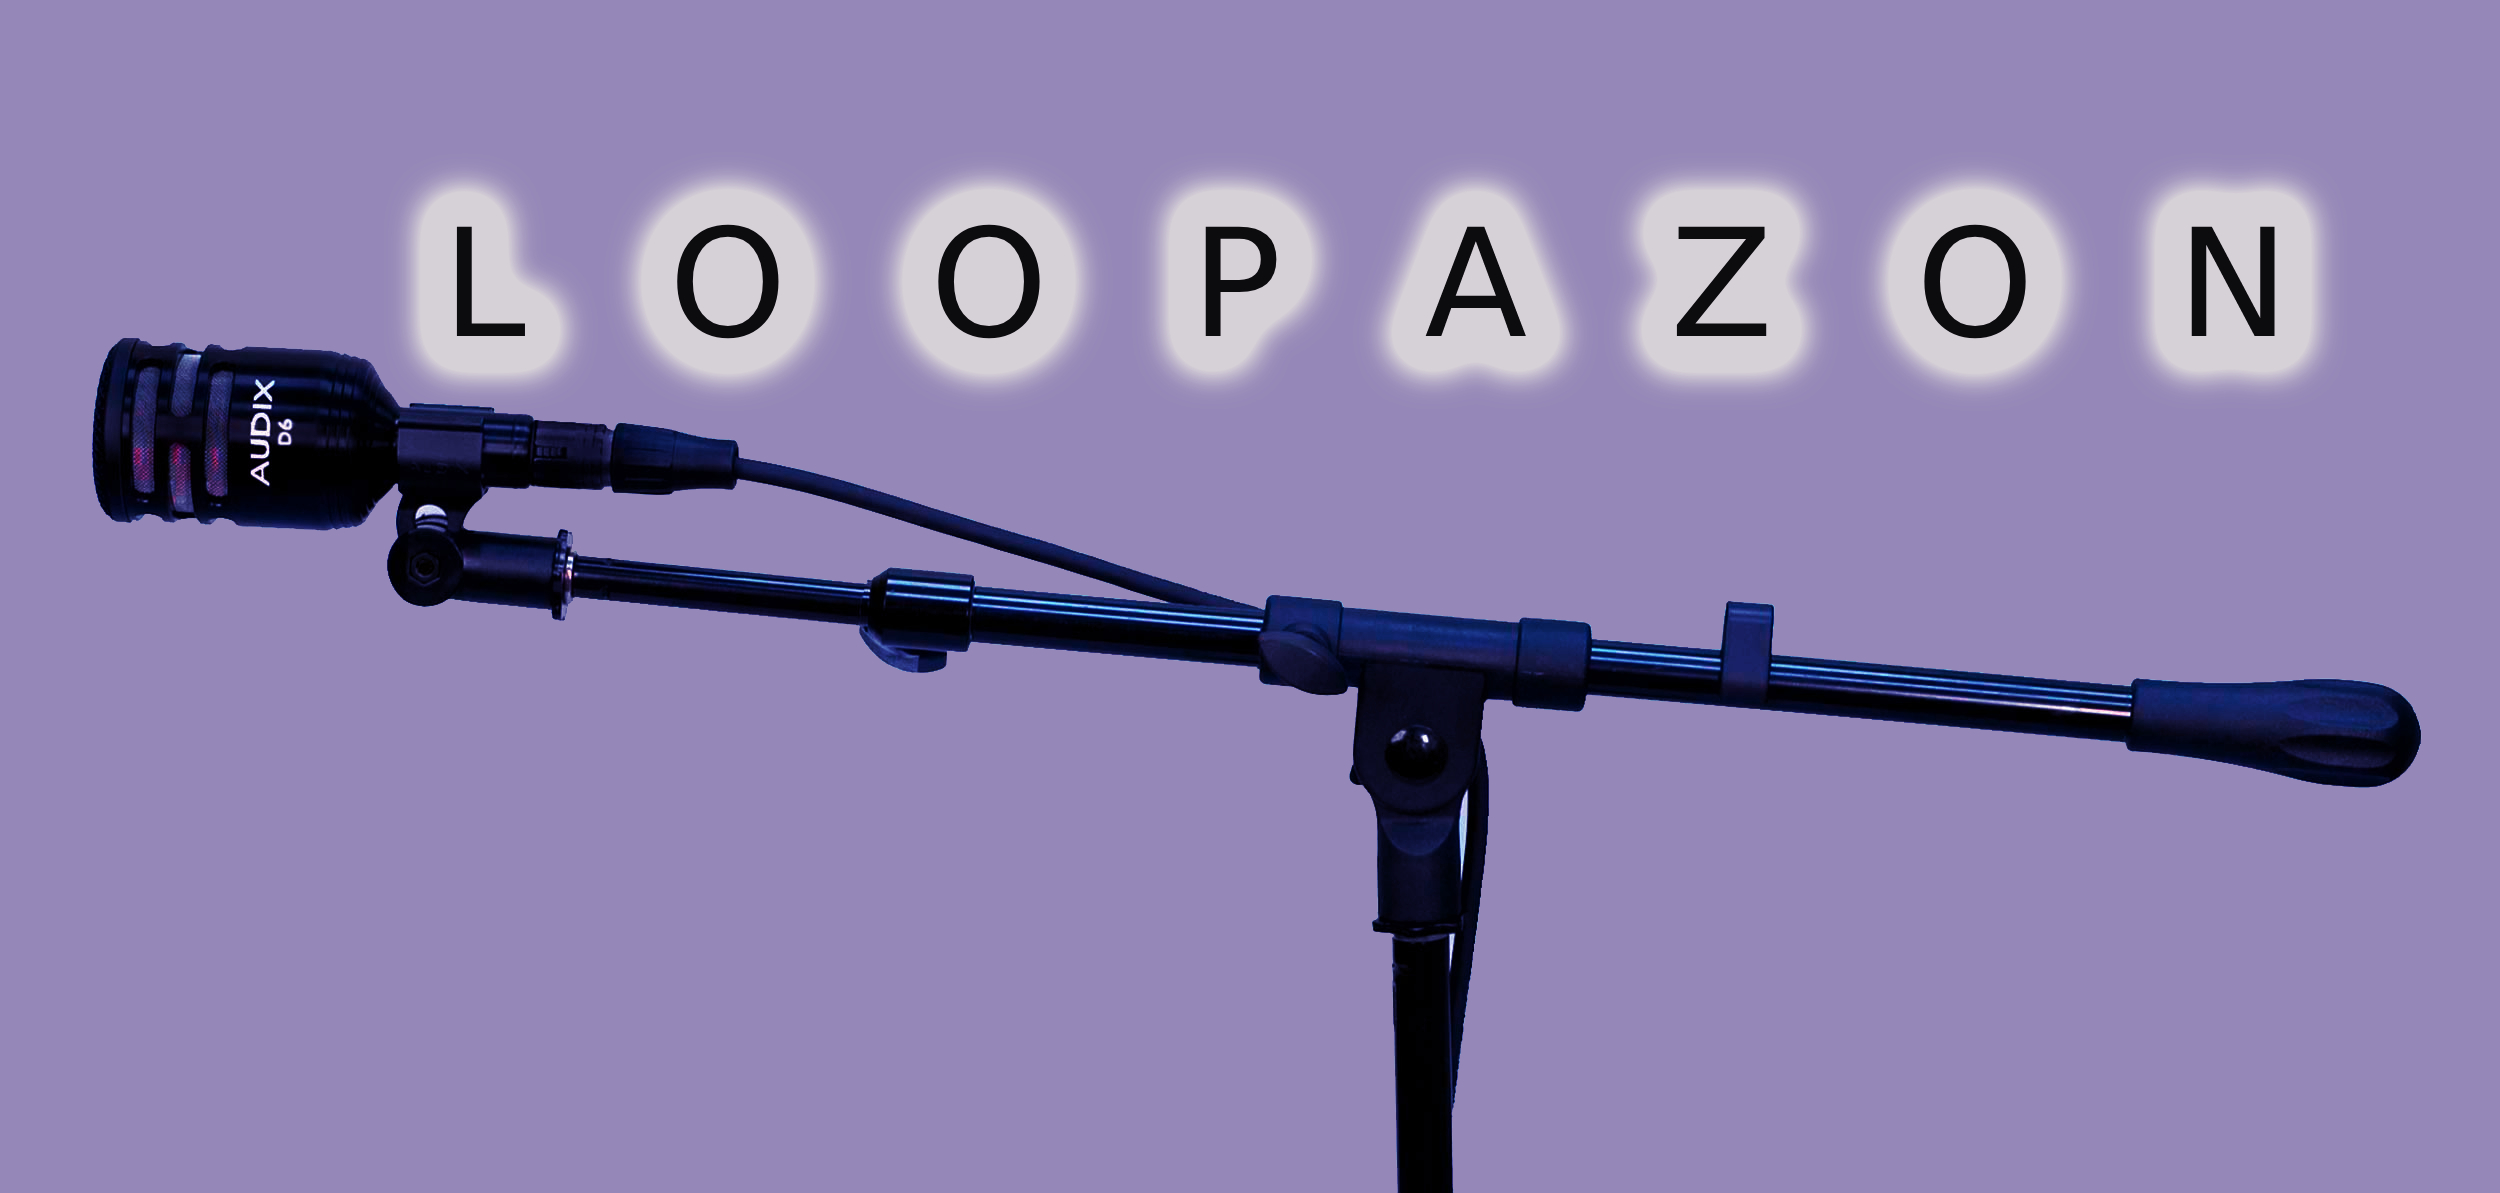
Coming with a transformer-less design, the D6 priced at $255 is an excellent addition to your set of microphones if you are a professional live performer. The BETA 52A priced almost $70 lesser than the D6 is a much better bargain and has a loyal fan base among professionals.
Also read: Extract Drums using FL Studio
If you are one of those drummers who choose to additionally mike your kick drum from outside, any reasonably good ribbon microphone would suffice.
3) For snares
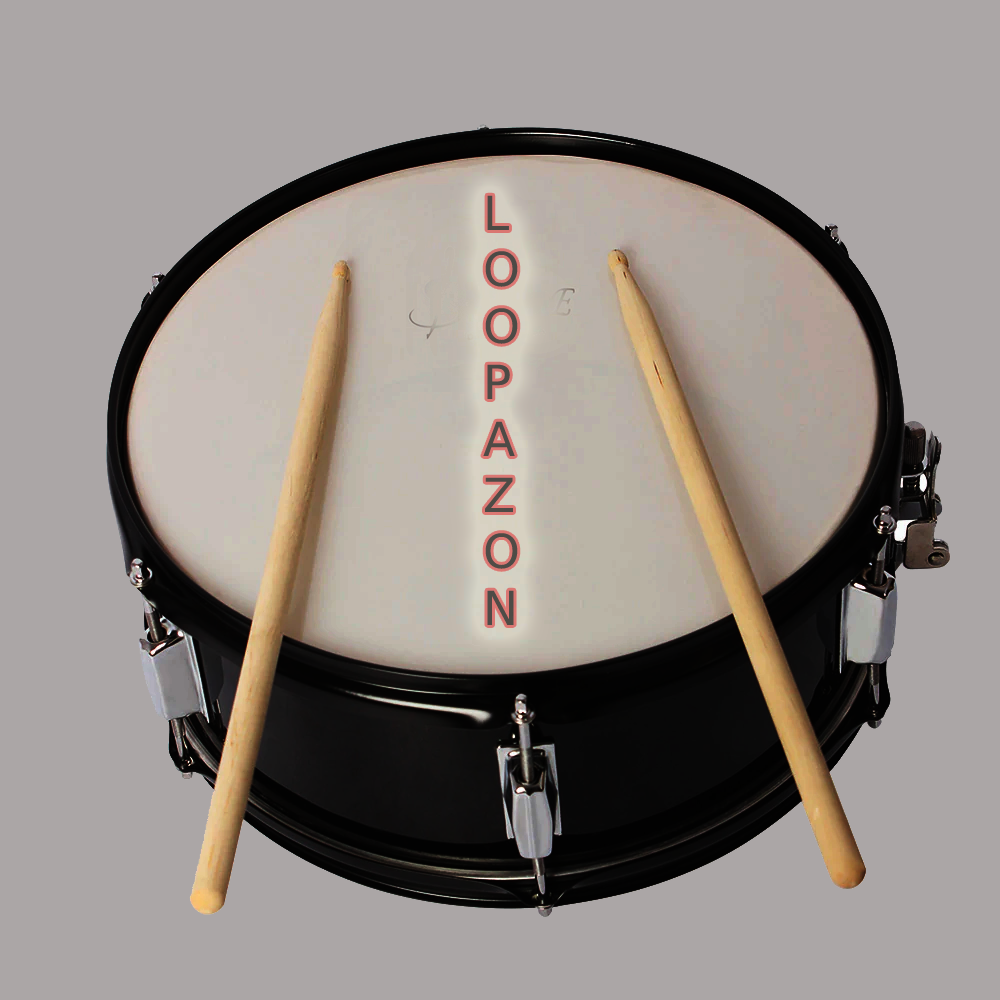
The snare drum is most crucial component of any drum set. Your could make or break your recording or performance your snare drum by miking your snare drum. Even if every other component in the drum kit is perfectly miked, the smallest of errors for the snare drum can change the color of your performance or recording. The standard two-microphone setup with one above and one below the snare drum, is seemingly simple. However the positioning is very tricky. You would have already guessed that the main input is from the microphone above.
This could be any good dynamic instrument microphone, depending on your performance or studio space, and your stylistic preference. The bottom microphone is usually a condenser irrespective of whether you are performing live or recording from a studio. This is to efficiently handle high sound pressure levels (SPL). Some drummers avoid having a bottom microphone. Positioning the first microphone that is recording from above, closer to the snare drum reduces or eliminates spill. Again this has to be done carefully as you may get a ‘closed’ sound with augmented low frequencies.
Loopazon’s favorite microphones for recording the snare drum are:
3.1 Shure SM57 Microphones
Just like how the Shure SM52As are the most favored microphones for recording drum overheads, the SM57s from them are the favorites with both live performers as well as studio drummers for recording snares.
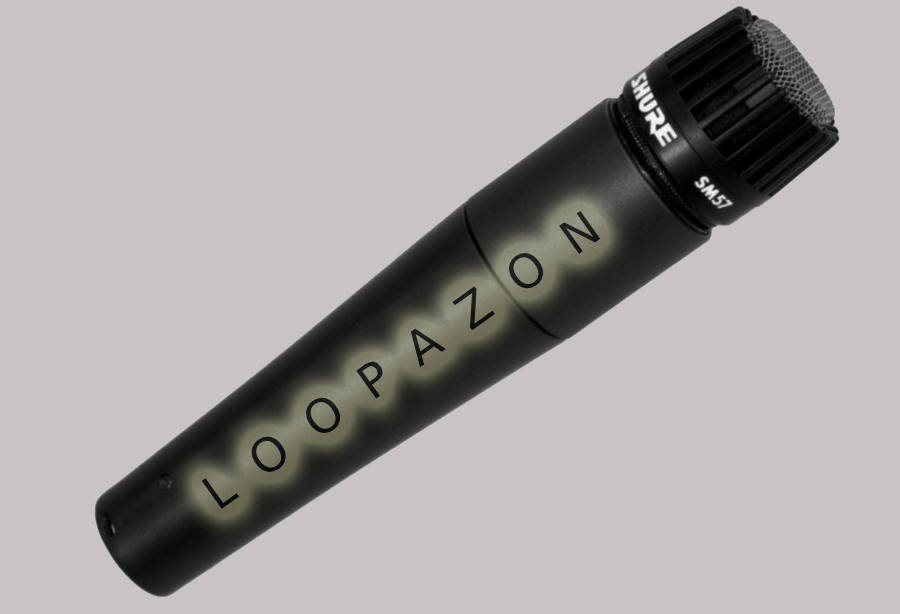
The SM57 has become an accepted standard for the snares over the years and often drummers don’t look for a second option. Appropriate placement closer to the snares ensures that the SM57 rejects other drum sounds, thanks to its cardioid polar pattern. However Shure strongly recommends that you place your microphone 4 inches away from the snares. One thing that hasn’t changed with the Shure microphones is their very affordable pricing.
Just like the BETA52A, the SM57 from Shure is an industry standard and yet comes at an incredibly affordable $99! Afull set complete with an XLR cable, a boom stand and mic clip does come at $155.
3.2 ATM650 Hypercardioid Microphones
The ATM650 from Audio Technica is an excellent alternative for miking your snare drums. The output is so articulate and pronounced as in some good condenser microphones.
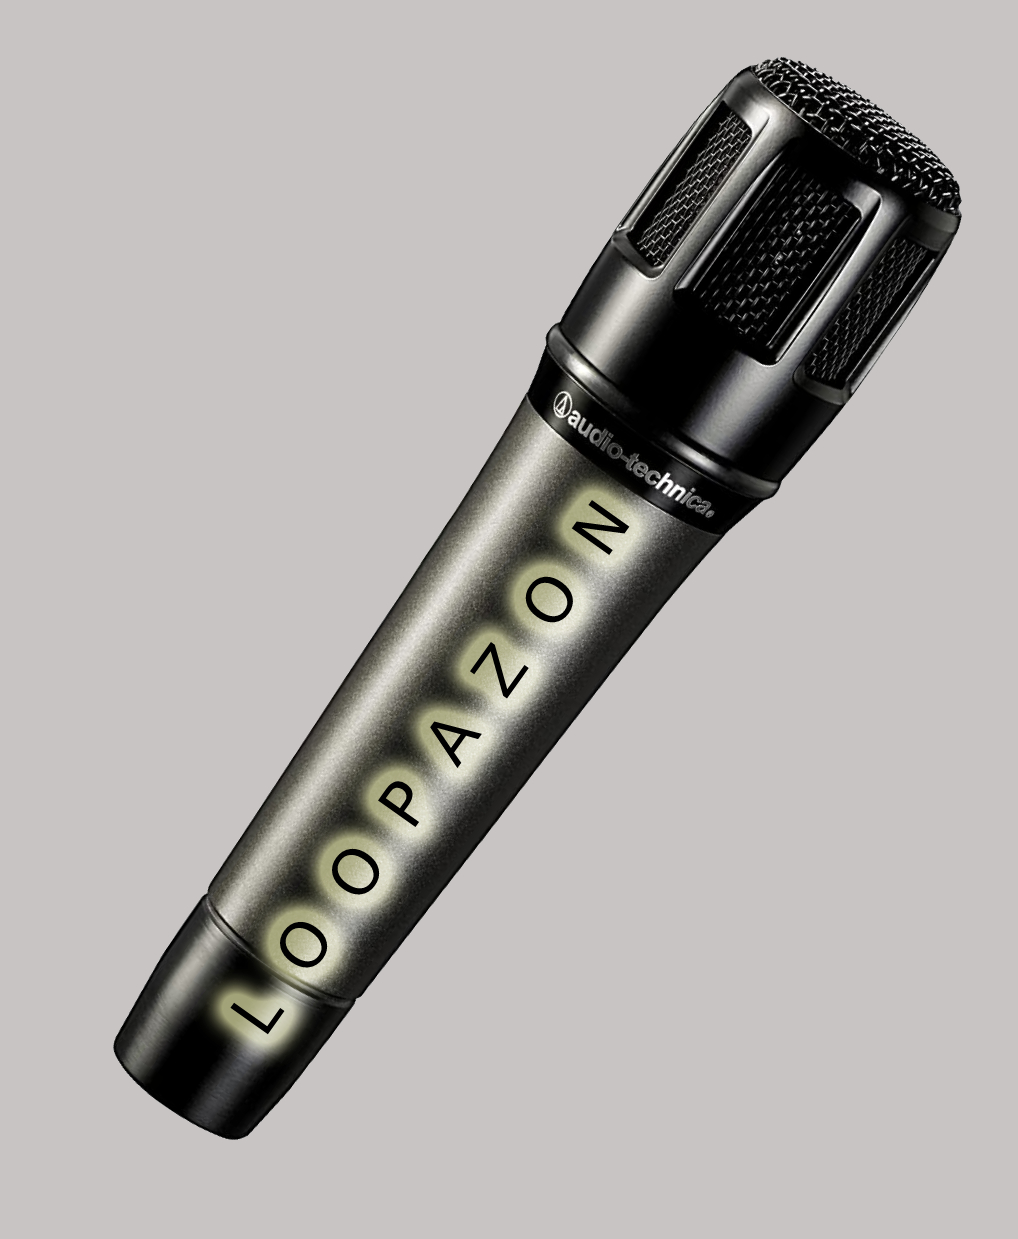
The hypercardioid polar pattern cuts out noise from the rear and sides to a significant extent. The neodymium magnet that Audio Technica has equipped the ATM650 with ensures an excellent transient response. With its steel finish, gold-plated XLR connectors and a frequency response of 80 Hz – 17 Khz, the ATM650 priced exactly the same as the SM57, is undeniably a great buy.
For the bottom microphone, you may go for any good affordable condenser microphone. You needn’t necessarily go for an expensive one from Shure for your recording setup at home, but make sure that your microphone can handle high sound pressure levels (SPL).
4) For toms
Among all the drums in a standard drum kit, the floor toms are the ones with the lowest tuning. It is very important that the microphone you choose should not pick up the spill from cymbals. The legendary SM57 from Shure is a perfect choice for recording toms too. The Audix D6 which we have discussed above is another great choice for all the toms on your drum kit. Both these microphones reject spill when placed appropriately. Besides these two top recommendations, Loopazon’s additional microphone recommendation for the toms is:
Sennheiser E604 Dynamic Cardioid microphone
Sennheiser needs no introduction as a brand. It manufactures everything from sophisticated premium studio equipment to affordable earphones for your laptops and smartphones. The E604 handles high sound pressure levels incredibly well and rejects spill from adjacent cymbals. This microphone is also a good option for recording snares. But when you have an SM57, you simply wouldn’t think of replacing it. Also, being priced $40 more than the SM57 doesn’t make it a favorite for both toms and snares. A highly efficient cardioid microphone nevertheless!
5) For Hi-Hats
Most often, the hi-hats are the only cymbals in a drum kit that get their own miking in both studio recordings and live performances. The sound from the hi-hats need to be well pronounced and hence most drummers would prefer a small diaphragm condenser microphone to a dynamic microphone for recording them.
5.1 Shure SM81-lc Cardioid Condenser Instrument Microphones
This is becoming very obvious isn’t it? Yet another favorite from the Shure stable, the SM81-lc microphone that runs on phantom power is a highly reliable and versatile microphone that is suitable for multiple instruments in both studio recordings and live performances. The noise levels are impressively low while the output clipping level is sufficiently high. It comes with a selectable low freq. response; flat, 6 or 18 dB/octave rolloff. As with every other offering from Shure, the SM81-lc too has an excellent built quality with an exterior steel finish boasts durability. Priced at $350 approximately, this microphone is worth every penny though you may go for a cheaper alternative to start with your home recordings.
The Pro37 small diaphragm condenser microphone is arguably your best buy, if you are just starting to record drums from home. You need not spend on high-end mics for the hi-hats alone, after going for economical deals with microphones for the other components. The Shure SM81-lc is for sure, an incredible microphone for you hi-hats. But to start with you might just need the Pro37 which comes at less than half the price of SM81-lc. It comes with an omni-directional polar pattern and you won’t find a better microphone for your hi-hat within this price range.
The crash and other cymbals needn’t necessarily be miked separately as good overhead miking is more than sufficient. However if you prefer them miking separately, another AT Pro37 should be good enough. Even in many professional recordings, drummers omit separately miking the crash cymbals. Without second thoughts, you too can omit it for your economical setup at home.
Well, that should be enough to get you started with recording drums and producing a reasonably good output from your home studio. Try experimenting with the angle and axis for miking each component of the drum kit. You may seek advice from mentors, but you will gradually discover your own sweet spot for each drum.
